

Work in JupyterLab
Notebook instances run JupyterLab, a development environment in your browser with notebooks, terminals and a file browser.
Open JupyterLab
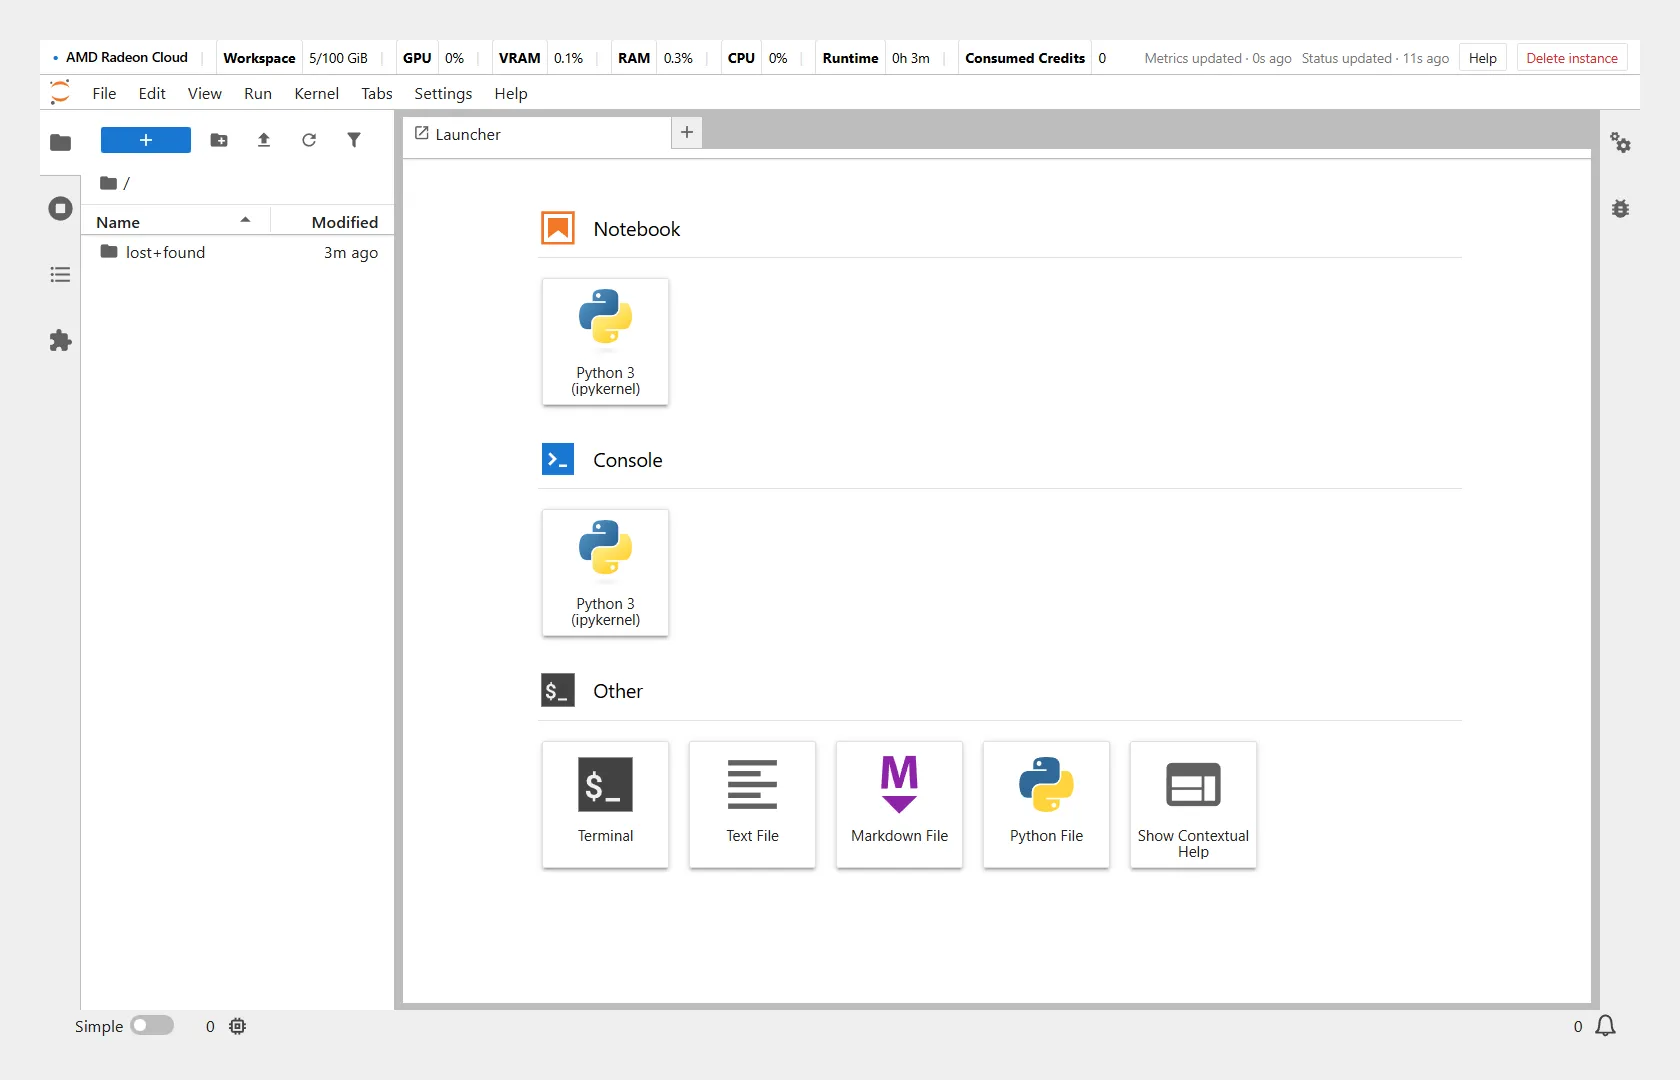
Section titled “Open JupyterLab”Click Open notebook, either in the launch dialog when it reads Your instance is ready or on the instance card on Home. JupyterLab opens in a new tab, in /workspace.
Two buttons in the top-right corner come from Radeon Cloud: Help, and Delete instance, which destroys the instance. See Destroy an instance.
The bar across the top shows the instance at a glance: Workspace use, GPU, VRAM, RAM and CPU load, Runtime and Consumed Credits.
Check the GPU
Section titled “Check the GPU”Open a terminal (File → New → Terminal, or the Terminal tile in the Launcher) and run:
rocm-smiIt lists the Radeon GPUs attached to the instance with their memory use and temperature. To check that PyTorch can use them:
python -c "import torch; print(torch.cuda.is_available(), torch.cuda.device_count())"ROCm builds of PyTorch keep the torch.cuda API names, so True here means ROCm is working.
To see how much GPU memory you have:
rocm-smi --showmeminfo vramCPU and memory limits
Section titled “CPU and memory limits”The size you launched sets the CPU and memory limits, for example 16 cores and 55 GB. Commands such as nproc show every core on the node, not your limit. When a tool asks for a thread or worker count, base it on the cores in your size, not on nproc.
Work with files
Section titled “Work with files”- The file browser on the left shows the instance’s files. Drag files onto it, or use the upload button, to bring in notebooks and data.
- To download a file, right-click it and choose Download.
- Save anything you want to keep under
/workspace, and launch with persistent storage. See Keep your data.
See which cells have run
Section titled “See which cells have run”Code cells are marked by how their last run went:
- ❗ and a yellow background while the cell is running
- ✅ and green when it ran without errors
- ❌ and red when it raised an error
The marks are shown only in your browser. They aren’t saved in the notebook and disappear when you reload the page. They need JupyterLab 4, so images with an older JupyterLab don’t show them.
Run long jobs
Section titled “Run long jobs”A job started in a notebook cell stops when its kernel stops. For long runs, start the job from a terminal and write its output to a file:
nohup python train.py > /workspace/train.log 2>&1 &tail -f /workspace/train.logAn instance can be deleted when your credits run out or when its Auto-reclaim time passes, so save checkpoints to a persistent /workspace as you go.
Reach a web app
Section titled “Reach a web app”To make a web service running in the instance reachable from the internet, such as a Gradio app or an API you’re building, see Expose a service.